 Kim Anderson
This post contains affiliate links. If you click the link and purchase something, I make a small commission to keep this blog up and running! For more info see my privacy policy here.
Just as a heads up, if you are using Google images for your blog stock photography you should stop that right now. I want you to know in case you just don’t know- that it could get you in some big copyright kind of trouble. There is a better way to get stock photos and that is with your own pictures!
In the beginning stages of blogging for me, I didn’t have an income being generated from my site so I had to either find Royalty Free/Free For Commercial Use images (like on Pixabay) or take my own.
Stock photography isn’t cheap so in the beginning I actually used to use a lot of opensource clip art (openclipart.org). I would find related clip art that was free to use and make my own Pinterest and post images using it. Looking back it was super cheesy but it did the trick and got me through. Here’s and example of my early work! Ironically enough, it still drives traffic to my site.

Tips For Taking Your Own Great Stock Photos:
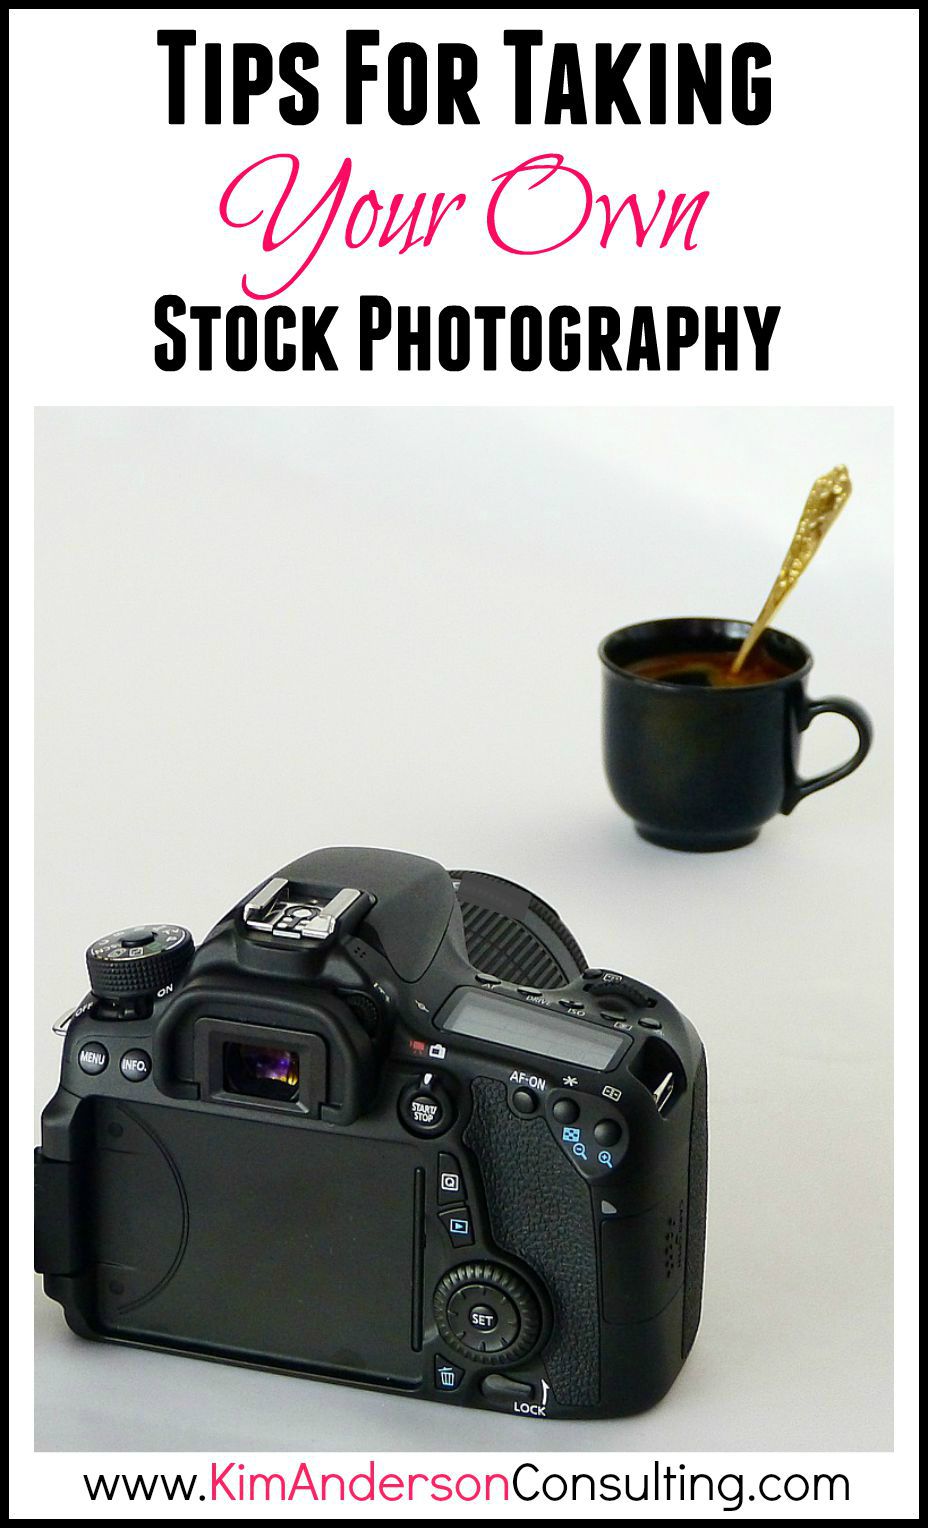
1. Don’t Sweat the Camera
Camera phones have become so advanced now that you can actually get some great quality stock photography wherever you go. It just starts with being aware of your surroundings and getting good shots in good lighting.
Don’t worry about dropping big bucks on a DSLR until you get to the point where you feel like it would benefit your platform. I do lots of picture tutorials on Thrifty Little Mom so my Cannon EOS 7D has been a good investment for me.
2. Take pictures of everyday objects.
Think benches, stop lights, bricks, pretty patterns, flowers and even electronics. Here’s one of my keyboard that I’ve used in a few posts.

Overtime I’ve become very aware of my surrounding and am always looking for stock backgrounds. Here are some examples that I took while walking around Asheville, NC and my local farmers market. I know I can edit and manipulate these images in the future to make great stock photo’s for a post.


3. Take the shot in good daylight.
If you have a house with tons of natural light and plenty of windows, you can probably take your pictures in your kitchen without needing a flash. I don’t, so most of my pictures are taken outside. I take many of my pictures on my screened in porch on a sunny day out of any rays of light. They come out just fine without needing to use a flash.
Too much sun makes the picture come out too bright with shadows. Aim for taking a photo in an area with diffused light.
4. For each picture you shoot, take one vertically and one horizontally.
You just never know which size you’ll need based on whether it’s in a blog post or as a social media image cover. So if you are taking a picture of a bench, take one vertically and take one of the same bench horizontally. You’ll thank yourself later. Here are some examples of vertical and horizontal shots I got for my Thrifty Little Mom blog post on iced coffee.

5. Get Familiar With Picture Editing Software
Even if your picture isn’t perfect it doesn’t have to stay that way. Picture editing software can do AMAZING things for images. I mean, if you’re running with the camera it probably can’t fix blurry but it can help with color and effects and everything else.
I love PicMonkey! It’s an online, EASY TO USE, picture editing software. There is a free version and paid version. In the beginning of my blogging days I just used the free version but the more I used it the more I wanted to have access to advanced features. Even so, it’s only $4.99 per month or $33 per year so I bought the year just to have access to all the features and it’s been worth every dime! You can use the free limited version or click my affiliate link below to try a free trial of Royale.

So those are my basic tips for getting started in taking your own stock photos.
What are some of your biggest hang ups about stock photography on your blog? Please share your thoughts and opinions with me in the comments section below!